You can use ClubRunner to insert an image into a story or document. Depending on the size of the original file, you may need to resize it to suit your layout needs.
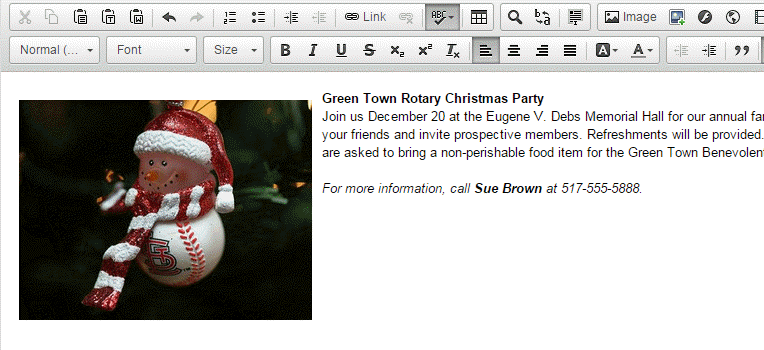
Log in to ClubRunner and access the story or document that contains the image you wish to edit.
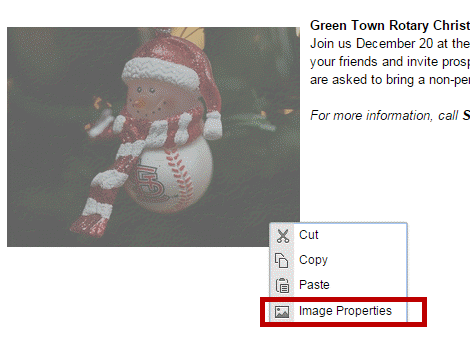
Right click on the image in order to edit the image editor. Then, click on Image Properties.
In the Image Properties editor, you can adjust the width and height of the image. The numbers represent the dimensions as measured in pixels. You can adjust these as desired to change the image size.
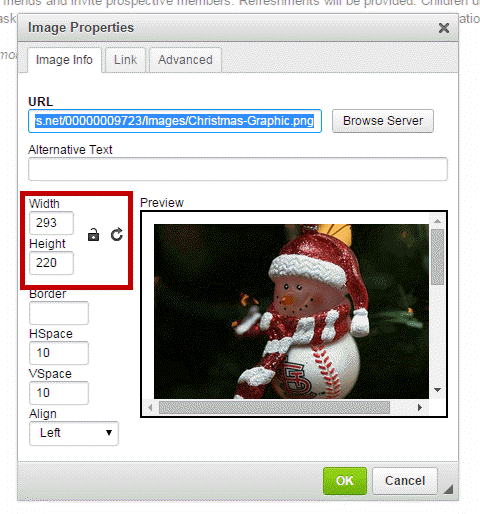
You can check the look of the resized image in the Preview field.

When you're ready to proceed, click Okay. Or, click Cancel to discard your changes. Your resized image will appear.
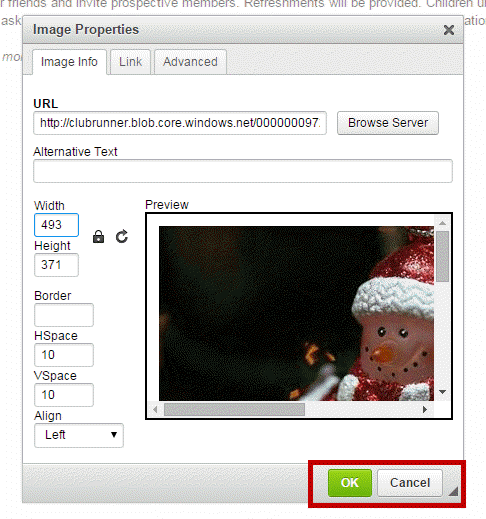
There are some special precautions you should take when resizing. To avoid distorting the image, click on the Lock Ratio icon. When you do this, the image size will be automatically adjusted to maintain the original proportions.
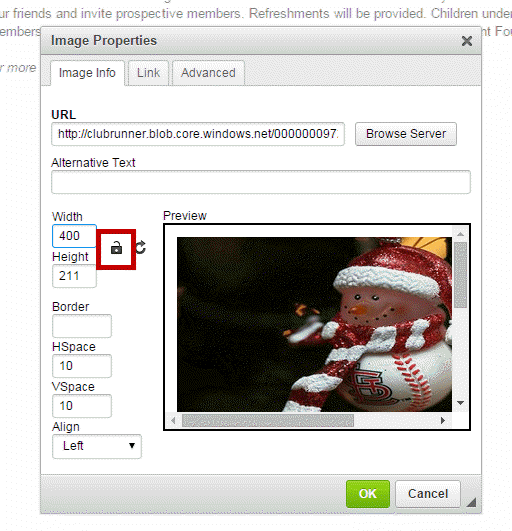
In this example, the width of the image has been distorted.
Finally, be sure to use a source image of sufficient resolution if you intend to make it larger. Expanding a small image file will make it appear pixelated and unclear.